Dear colleagues and friends,
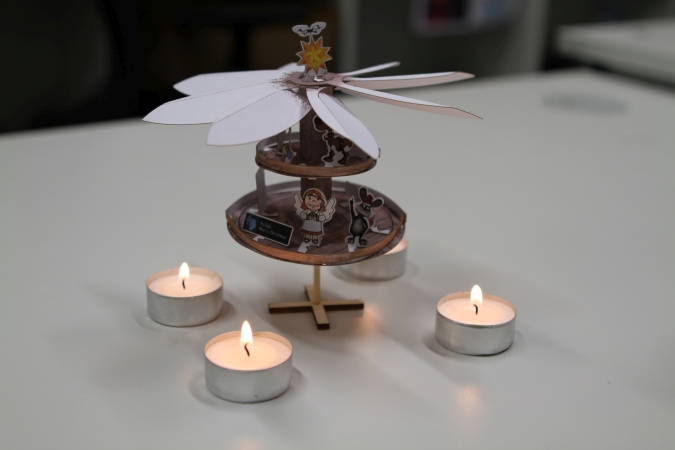
we hope you received your exclusive hcilab pyramid construction kit, version 4.0. To fully enjoy the hcilab Christmas experience, here are the quick steps to a successful assembly. The elves at the labs have been busy, getting everyone into a tizzy. After numerous nights, proudly presenting the Christman pyramid with delight:
Caution: If the pyramid catches fire, it will come down to the wire. So try with all your might, to never let the it out of sight.
The Christmas pyramid construction kit ingredients, make sure there is no deviance: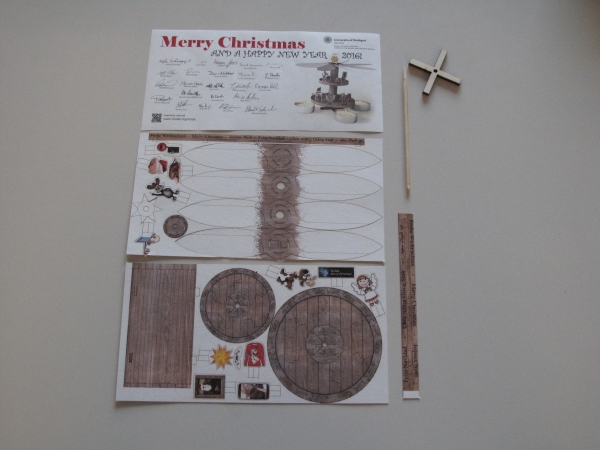
Step 1: Cropping the loot! But don’t be too brute!
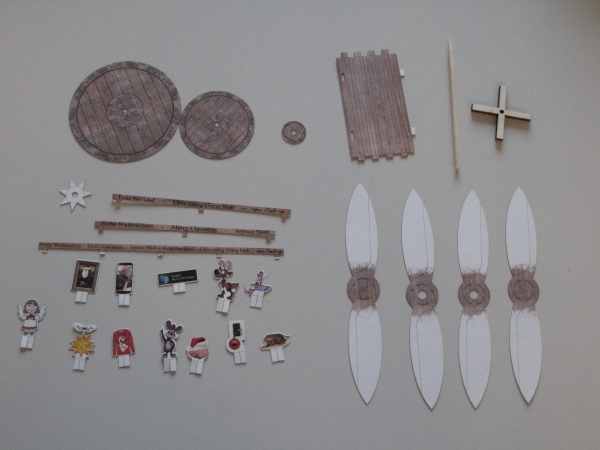
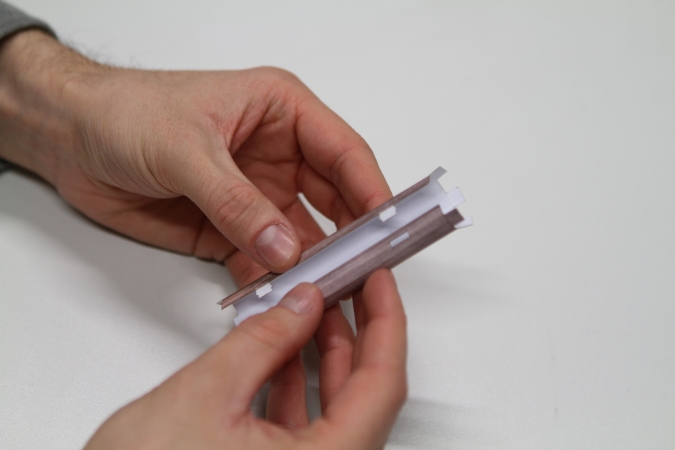
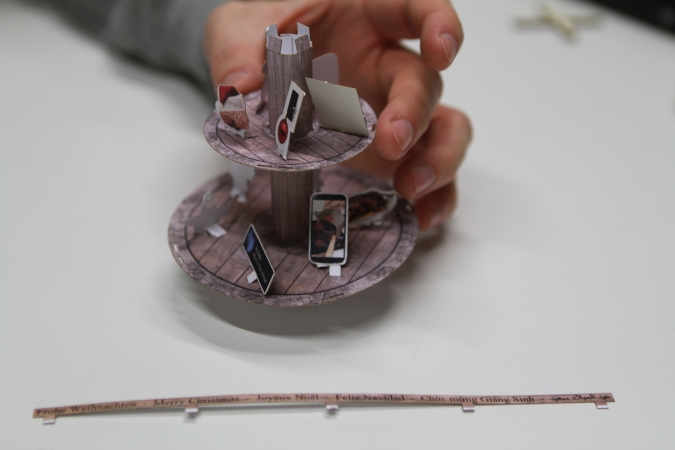
Step 2: Form a pillar using the rectangle piece, prebending at vertical lines with ease.

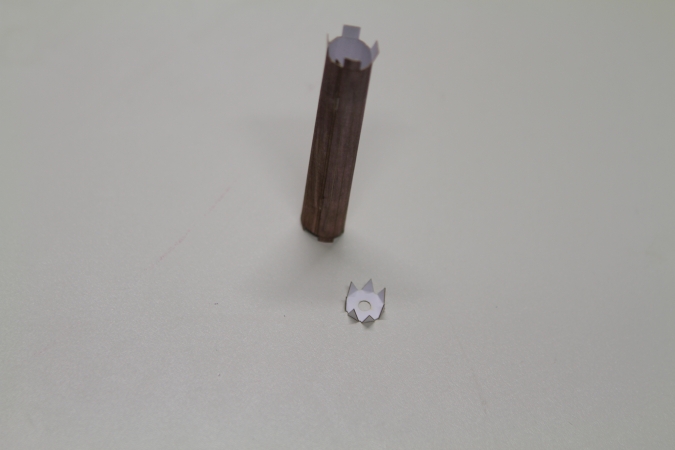
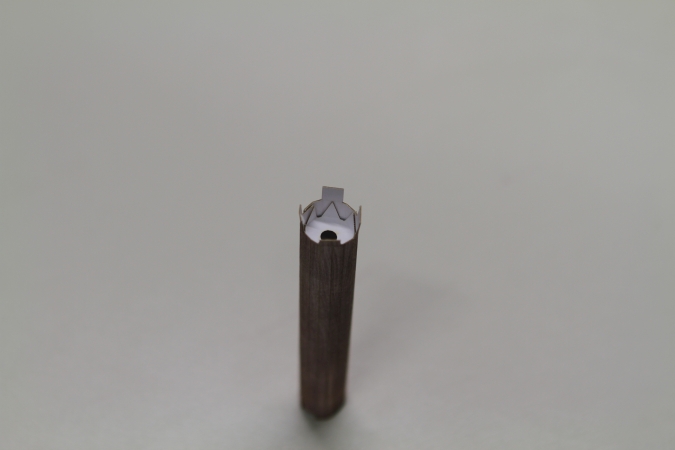
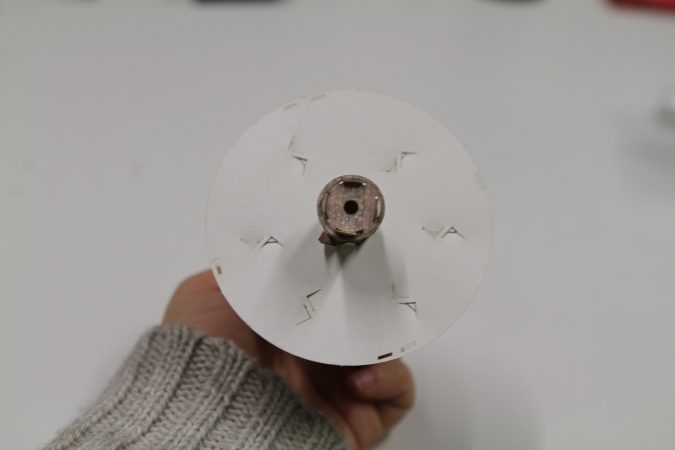
Step 3: Add the bearing to the pillar, this can be quite the thriller. An evenly mounted bearing may alleviate later swearing.
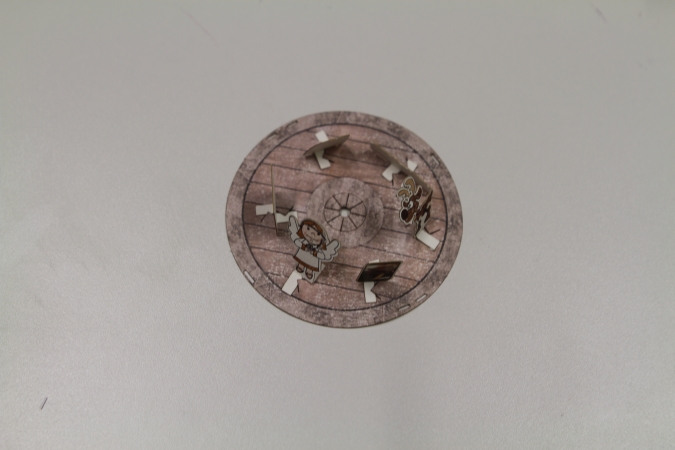
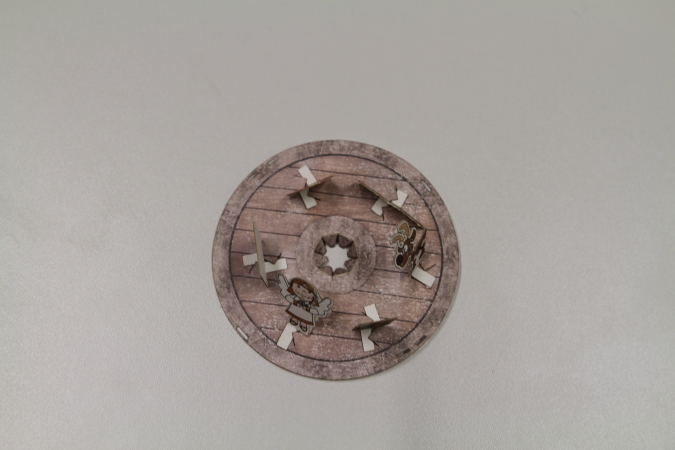
Step 4: Mount the figures on both wheels, careful to not discourage your zeal.


Step 5: To make the pyramid spin in the end, you got to put your finger in the dent.
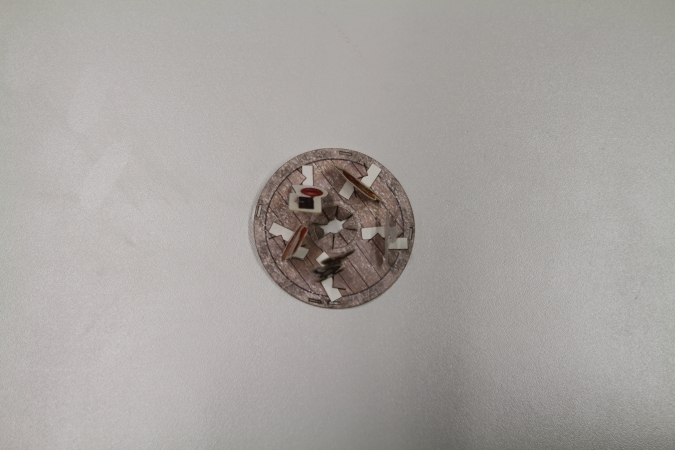
Step 6: Onto the pillar, you mount the wheel, small one on top for maximum appeal.
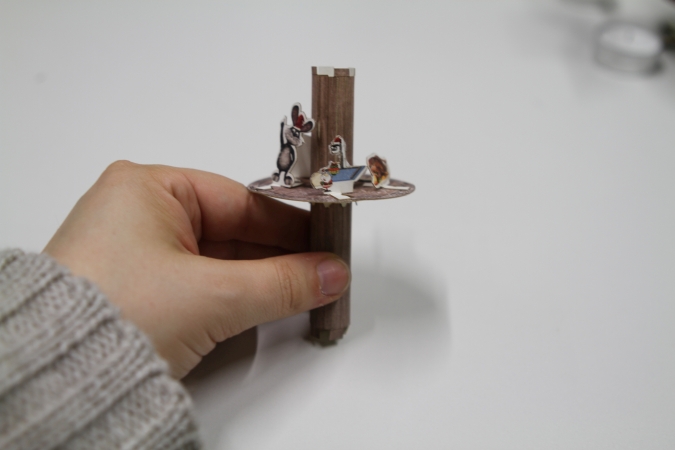
Step 7: Finishing the pillar with the bottom plate, that would be great.
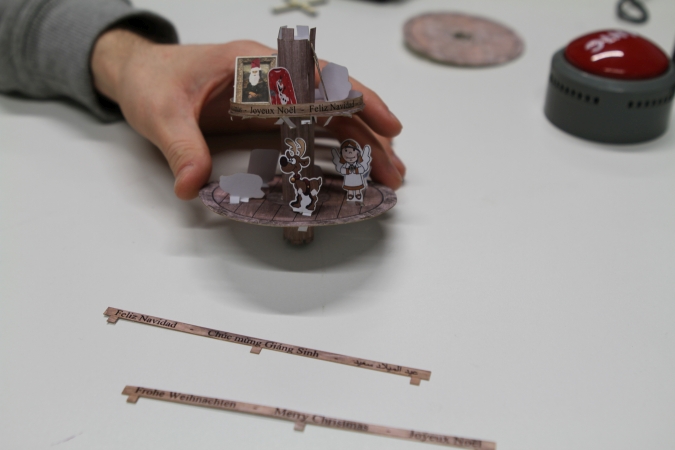
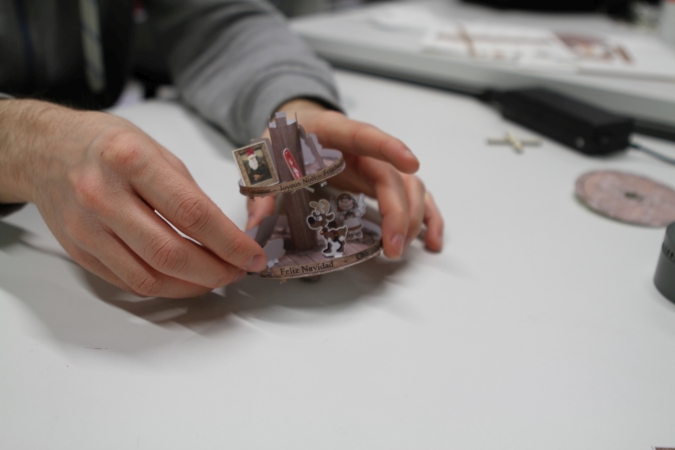
Step 8: To faciliate your language skills, the wheels need to be occupied with frills. Don’t be naive, big wheel takes two, you just have to believe.
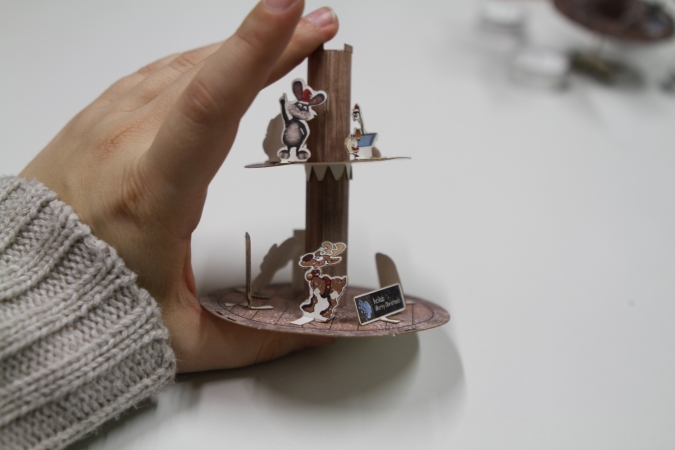
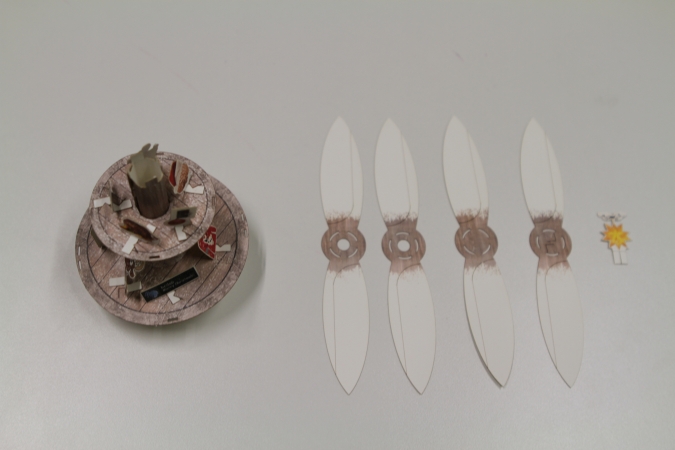
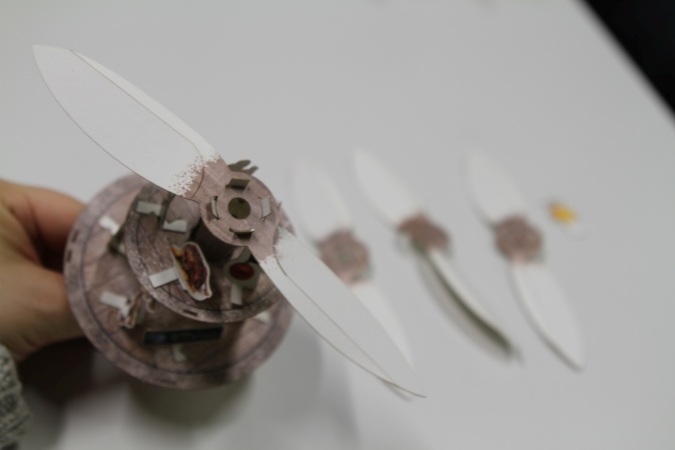
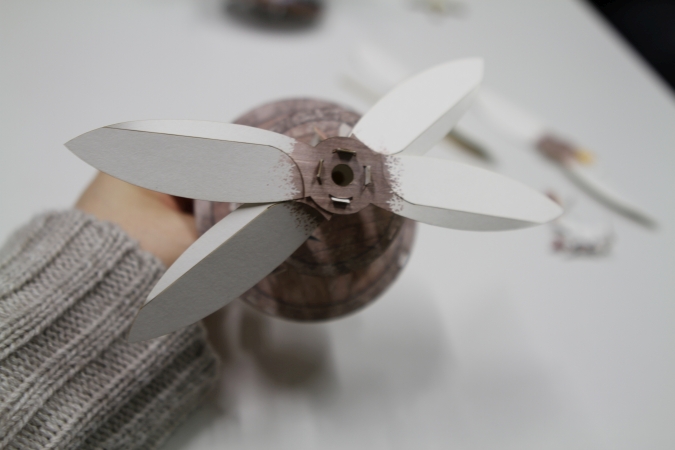
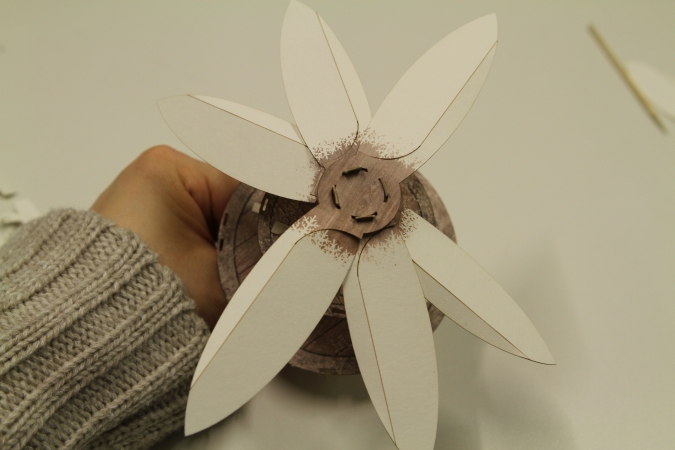
Step 9: The rotor consists of wings, among other things. Be careful to obey the mounting order (left to right), unless you want a pyramid with a spinning disorder. The statics of the pillar is at stake, with the drone-star as the icing of the cake.

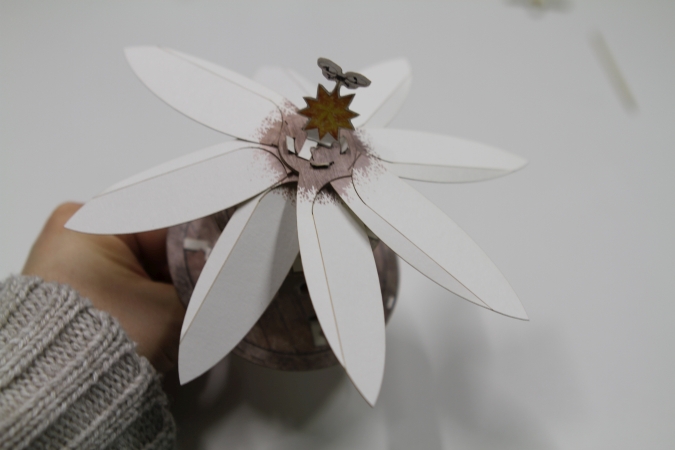
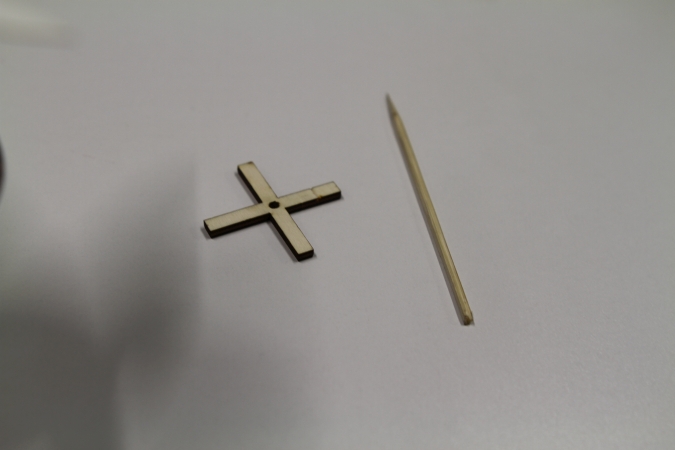
Step 10: Cross and stick make the pyramid look slick.
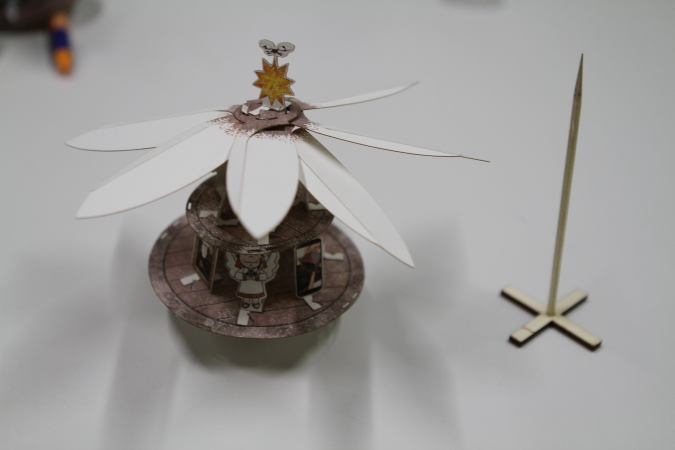
Step 11: Four candles are required to fire up the ornament. Make sure to celebrate this special moment.
As always, we are curious about your result and are keen to receive a picture of the final version of your own Christmas pyramid. Feel free to email it to us, to share your accomplishment with us on facebook or link to it in a blog comment.
So much for this year’s handcraft.